
Answer
Answer
1. Open Server Manager by clicking the Server Manager icon on the desktop.
2. In the Server Manager window, click the Manage menu, and then click Add Roles and Features.
3. The Add Roles and Features Wizard will start with a Before You Begin page.
4. On the Before You Begin page, click Next.
5. On the Installation Type page, select Role-based or feature-based installation to configure a single server. Click Next.

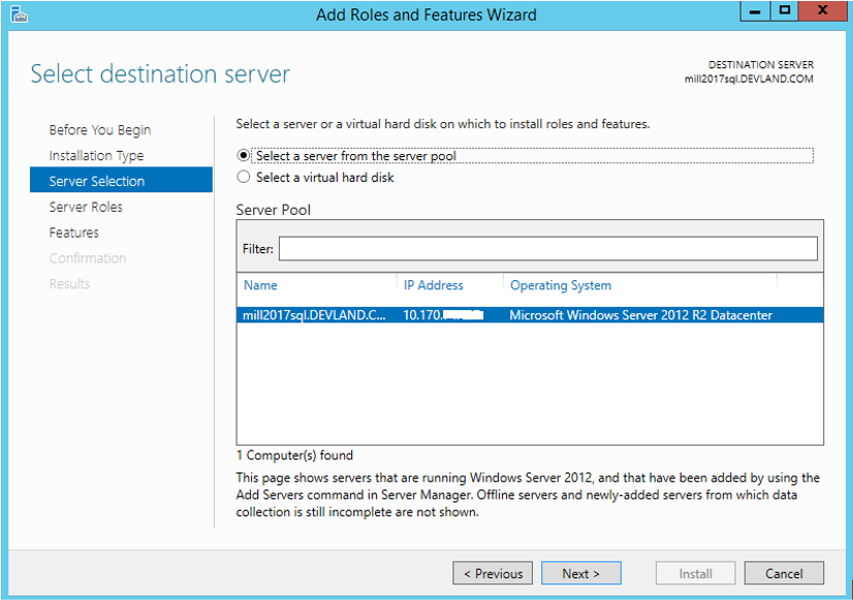
6. On the Server Selection page, select a server from the server pool, and then select a server. Click Next.
7. On the Server Roles page, select Web Server (IIS).

8. On the Server Roles page, click Next.
9. On the Confirmation page, verify the role services and features that are selected. Select Restart the destination server automatically if required to restart the destination server if the settings need to take immediate effect.
10. When you are ready to start the installation process on the Confirmation page, click Install.

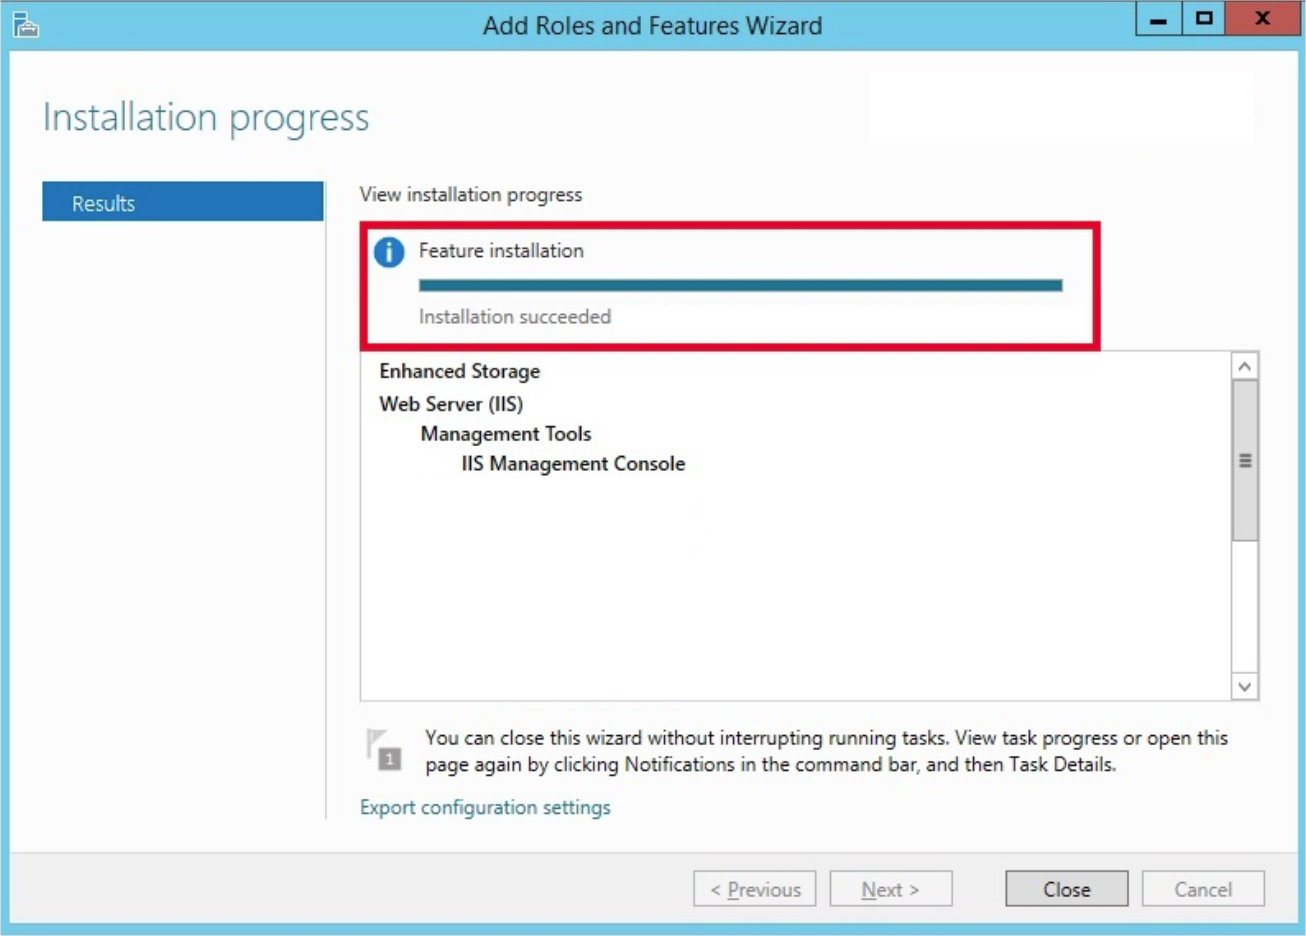
11. The Installation Progress page is displayed.

12. On the Results page, verify that the installation succeeds, and then click Close.
Article Type
Product Info
Product Line
Millennium
Product Module/Feature
Installation
Database Engine
SQL Server 2014
SQL Server 2012
Ranking